Table of Contents

If you haven’t heard of microwave mug cakes, you’re in for a real treat. These single-serving wonders come together right inside your favorite (microwave-safe!) coffee cup, and require no more than 90 seconds of “baking” time. They’re straight-up magical.
Admittedly, there are some desserts that shouldn’t get the mug treatment. But cake? Yes, cake should absolutely be made in a mug, particularly when you only want a single slice. In fact, cake is—dare we say it?—even better in a mug. It’s cuter, it’s easier to clean up, and the leftovers won’t take up space on your countertop…because there won’t be any.
Most importantly, mug cakes are fast. And take it from Ree Drummond: Speed is paramount when it comes to dessert. The Pioneer Woman herself sometimes has such intense cravings for cake, she’ll “simply die if she doesn’t get a piece within five minutes.”
Well, in way less than 5 minutes, you can make this red velvet mug cake, toppings and all, and present it to your sweetheart for a delicious Valentine’s Day dessert morning. It’s the sweetest, simplest ending to a decadent spread.
Read on to learn exactly how to make your own, then get ready to delight your other half this February.
P.S. No judgment if “your other half” is you. Even better!
Gather your supplies and ingredients.

You’ll need:
And for the cake, you’ll need:
-
3 tbsp. milk
-
1/2 tsp. apple cider vinegar
-
12 drops red food coloring
-
2 tbsp. vegetable oil
-
1/4 tsp. vanilla extract
-
1/4 c. all-purpose flour
-
3 tbsp. granulated sugar
-
1 tsp. unsweetened cocoa powder
-
1/4 tsp. baking powder
-
1/4 tsp. kosher salt
In terms of toppings, you can either whip up a tiny batch of cream cheese frosting or pile your cake high with other fun Valentine’s Day fixings. Some ideas:
The options are endless.
Make sure you’ve got a microwave-safe mug—one that can hold all of the ingredients.

This is important! For starters, not all mugs are microwave-safe, so you’ll want to make sure yours is (you can usually tell by checking the underside of the cup for a clear disclaimer).
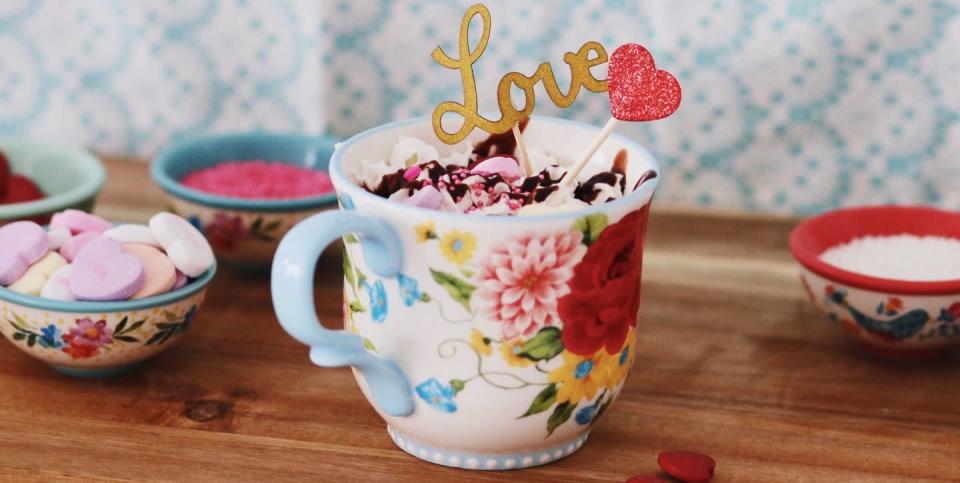
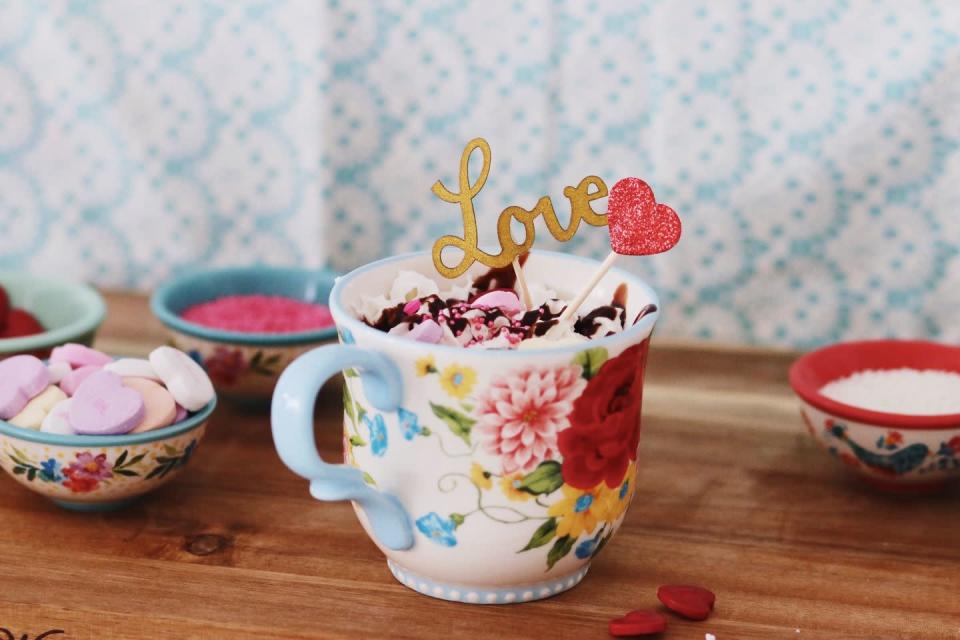
Second, the cake does rise a fair amount in the microwave, and your mug should be large enough to handle its heft and height. Any 12-ounce mug (or larger!) would work well. The one you see pictured here, The Pioneer Woman Sweet Rose mug, is 14.5 ounces.
Bonus points if your mug is cute.
Combine the wet ingredients inside your mug.
To start, pour the milk and vinegar into your mug. Next, stir in the food coloring using a fork until it’s all nicely blended together. Finally, stir in the vegetable oil and the vanilla.
It should look something like this:

Pssst… If you can believe it, you’re already halfway done.
Add the dry ingredients.

Right into the same mug, add your flour, granulated sugar, cocoa powder, baking powder, and salt. Pick up your fork again and stir, stir, stir, until the mixture is smooth and free of lumps. It’s a good idea to scrape all the way down to the bottom of the cup to make sure there aren’t any clumps of flour or cocoa hidden there.
Those dry ingredients can be sneaky.

Time to microwave!
Now that you’ve fully incorporated the wet and dry ingredients, it’s time to begin “baking.” Microwave the mug full of cake batter on “High” for 1 minute 15 seconds to 1 minute 30 seconds, or until a toothpick inserted into the center come out clean.
Remember, every microwave is a little different, so you’ll really want to be careful here and keep a close eye on the cake as it heats up. At the same time, you don’t want to open and shut the microwave door several times, as this disrupts the baking process.
Last but not least, you also don’t want to overcook the cake! Nobody likes dry cake, after all.

Once time’s up, let the cake cool for 2 to 3 minutes. (This cooling part, by the way, also takes place in the mug, since you’ll be serving it within that same vessel. No need to empty it out onto a plate!)
Finally, it’s time to decorate!
It does look a little naked without any toppings, doesn’t it? Let’s fix that.

There are two equally wonderful ways to decorate a mug cake like this one. You could opt for a cream cheese frosting—the classic choice for red velvet cake. Or you can get a little creative and load up your cake with frilly, pink-and-red Valentine’s Day treats. Think: sprinkles, heart-shaped candies, and a generous dose of whipped cream and chocolate sauce.

Whether you go the frosting route or the whipped cream route, you might consider adding a paper cupcake topper to your creation. It’s a pretty way to finish things off, and it also provides you with a fun opportunity to send a message to your partner.
Win-win!
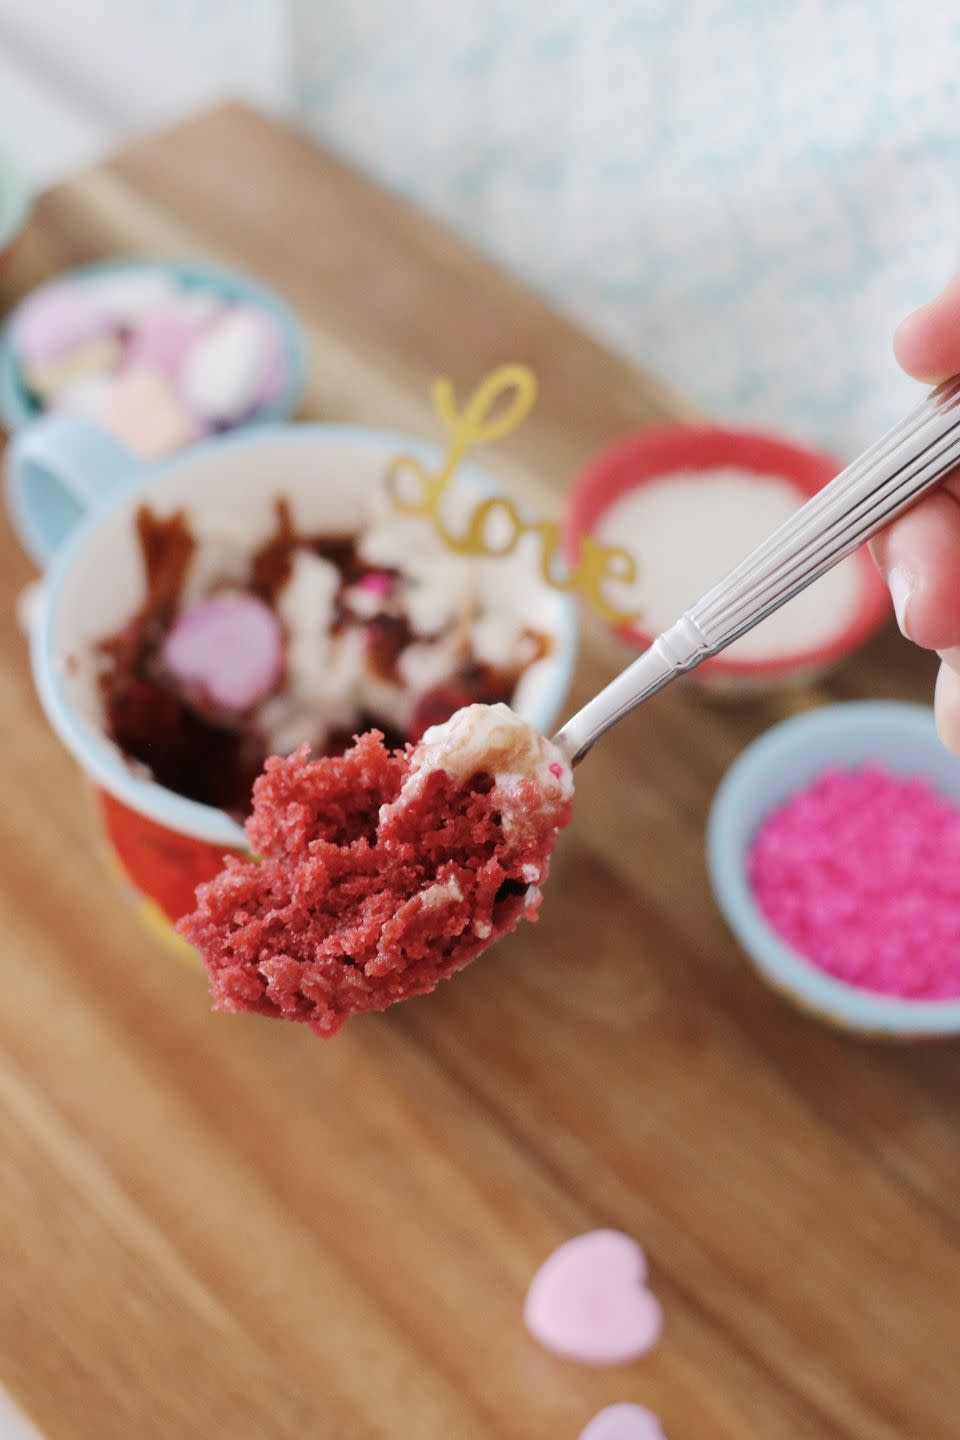
Voilà! Dig in, share, enjoy.

Red velvet cake in a matter of minutes! It’s a dream come true. Dig right in with a fork—or wait to share it with your significant other. Better idea: Make two of these mug cakes and eat them together.

Of course, there’s one problem with a recipe as easy as this one: Soon, you’ll be making mug cakes on the regular.
Sorry, other cake recipes. You had your chance.


More Stories
Elopement Videography: Locations, Costs, and Why Couples Elope
BenDeLaCreme Is… READY TO BE COMMITTED at Warner Theatre
Rhett’s Twelfth Month – Virginia Wedding Photographer