

Table of Contents
In partnership with Cricut, we have created a fab wedding DIY welcome bag tutorial using their latest and greatest heat press called Autopress. Using the Autopress and some iron-on (HTV), you can transform your totes into customized keepsakes for your guests to enjoy. And if you’re celebrating at the beach, these bags are the perfect accessories to bring on the sand before the I Do’s!

Why Cricut Autopress?
This new advanced queen of heat presses is a beauty, and it was designed with a very specific crafter in mind. Because of its size, price point, and time-saving features, the Autopress is most ideal for creative wedding and event businesses who specialize in making bundles of favors, signage, tote bags, shirts, personalized gifts, and more for happy couples!
The Autopress gives perfect auto-adjusted pressure, temperature, and duration every time. There is no guesswork when you dial in your preferred settings on the included control pod… and if you’ve had to step away to grab a call, when it’s done, the lid pops up automatically like magic so there are no ruined designs.
You can also press with further peace of mind because Cricut’s Autopress has thoughtful safety features that include certified temperature-rated plastics, extra-wide clearance, and automated shut off after inactivity.
Not selling wedding goodies? Autopress would be a fab addition to a family of avid hobby crafters! When the wedding is done, help out your schools’ and communities’ needs by making anything in bulk that needs a little personalized touch. Volunteering through your skills and talents is one way to help make your corner of the world a better place. And we all need a little joy in these times!

What to Include in a Wedding Welcome Bag
Difficulty Level: Easy
Color Inspiration: Shades of blue, white, and gold
PROJECT MATERIALS
• Cricut Autopress
• Gold iron-on
• White iron-on
• Computer/Laptop/Mobile Phone with Design Space
• Cricut Explore Air cutting machine
• Cricut 12″x12″ StandardGrip Cutting Mat
• Weeding tool
• 100% cotton tote bags
• 100% silk or all-natural fiber ribbon
• Cork coasters
WELCOME BAG MATERIALS
• Seagull-shaped cookies
• Vanilla mint lip balms
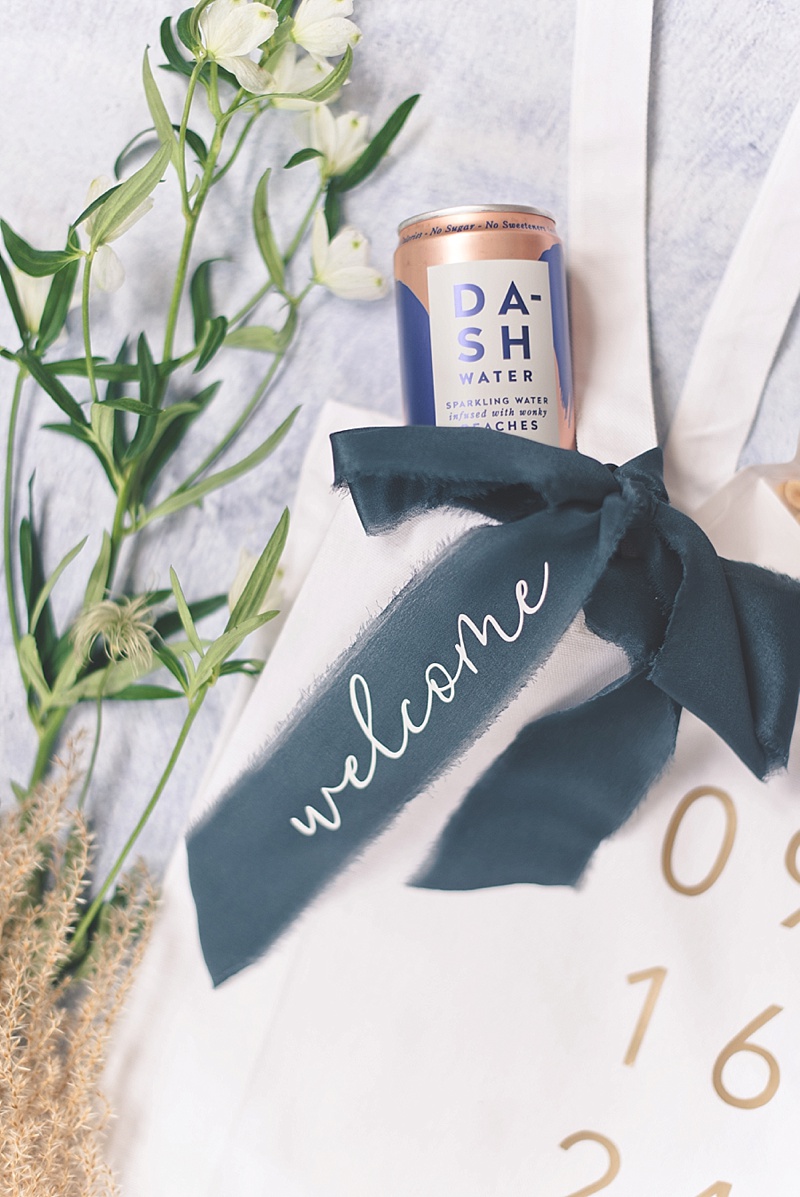
• Sparkling water cans
• Virginia peanuts
• White food-safe resealable pouches

SUSTAINABLE TIP: To minimize waste and maximize use, consider designs for your welcome bag treats that your guests will actually want to reuse beyond the wedding weekend. While very cute, we would recommend avoiding using your names or something that only you would personally love. Get inspired by your destination – think symbols, town names, and catchphrases. A simple design for your wedding date can be a chic way to celebrate and also keep it “timeless” after the weekend.

INSTRUCTIONS
1. Set out all of your materials and prep your computer, laptop, or mobile phone to connect with your Cricut cutting machine.
2. Go to Cricut Design Space, open a New Project, and find a font from your computer or Cricut’s library to use for your preferred wedding welcome bag words and design. (You can also find someone on Etsy to help you make a custom SVG or graphic file if you would like a helping hand! If you have hired a stationery designer, they may also be able to help you match your paper goods to your bags.)

3. Measure your tote bag, cork coaster, and ribbon to make sure you cut the appropriate size for each.
4. Using your StandardGrip Cutting Mat, place your iron-on material *shiny side down* on the mat and smooth out so there are no bubbles. Be sure to click “Mirror On” before continuing as your words need to be “flipped” to iron-on properly. Then on your Cricut machine, turn the material dial to “Iron-On.” In Cricut Design Space, click the green “Make It” button and watch your cuts come to life! Repeat for all of your wedding welcome bag decals.

FUN FACT: Considering the Cricut Autopress for your creative wedding business? This practical machine helps you batch make your products quicker and more efficiently! Not only can you batch press small items all together, the Autopress also takes out the guesswork if your iron-on pressure is right with the perfect press everytime.

5. Weed all of your cuts. Iron-on material is one of the most fun to weed because it’s just a pull and peel process that anyone at any age can do! Grab those creative helpers to assist you with this batched DIY!

6. Setup your Autopress machine on a sturdy surface and get ready to batch press all of your cutouts! Follow the below heat settings for each of your details.

Drink Coasters
How to Iron on Cork with Cricut Autopress
Cork is a great, unique sustainable material that is heat-absorbent and affordable to buy in bulk, so a personalized drink coaster is a perfect addition to any welcome bag, especially because you can press up to 4-6 coasters at a time depending on the size of your coaster!
AUTOPRESS HEAT SETTINGS FOR CORK
When using an Autopress, set your control pod to 315°F for 15 seconds. This requires a COLD peel. This means you need to wait until the plastic iron-on film/carrier sheet is cool to the touch before peeling off of your coasters.


Welcome Bag Ribbons
How to Iron on Silk with Cricut Autopress
Even delicate fabrics like silk can be used with the Cricut Autopress! As long as the material is 100% natural (e.g., silk, cotton, or jute), it is a safe bet for heat pressing. Be sure your ribbon does not contain anything synthetic (e.g., polyester, nylon, or polypropylene). Satin ribbons are sometimes made with synthetic fibers, so check first! You don’t want a melty mess to clean up!
AUTOPRESS HEAT SETTINGS FOR SILK
When using an Autopress, set your control pod to 280°F for 30 seconds. This requires a COLD peel. This means you need to wait until the plastic iron-on film/carrier sheet is cool to the touch before peeling off of your ribbons.


Personalized Tote Bags
How to Iron on Cotton Canvas with Cricut Autopress
One of the most fun things to make is a tote bag, so you’ll want to save these settings! We think cotton is the most versatile fabric out there since there are so many ways to personalize and get creative. Before heat pressing, make sure your tote bag has no water-resistant laminated liner (which tends to be made of plastic) as this would melt on the Autopress!
AUTOPRESS HEAT SETTINGS FOR COTTON CANVAS BAG
When using an Autopress, set your control pod to 340°F for 20 seconds. This requires a COLD peel. This means you need to wait until the plastic iron-on film/carrier sheet is cool to the touch before peeling off of your tote bags.


6. Tie your welcome ribbons on each bag handle and assemble all of your goodies into your bags!


Save the Date!
For our Virginia and other U.S. friends, Autopress will be available for purchase this May 3, 2022 on HSN and May 16, 2022 on Cricut.com and other craft retailers. And for our international friends, May 1, 2022 is your save the date! So toss the confetti and get it all over the place! Things are heatin’ up!


See Other Cricut Wedding Iron-On DIY Projects To Use with Autopress
• DIY Wedding Jacket
• DIY Newlywed Gift Kitchen Towels
• DIY Bachelorette Party Bum Bags
• DIY Felt Wedding Patch
• DIY Wedding Vow Books
• DIY Marriage Proposal Banner
• DIY Leather Utensil Sleeves
• DIY Bridal Shower Coffee Cozies

TUTORIAL CREDITS
Tutorial Photography & Styling: Chelsea LaVere Barton for Tidewater and Tulle | Project Materials & Cutting Machine: Cricut | Florals: Apple Mint Florist | Silk Ribbon: Imagine DIY via Etsy | Tote Bags & Cork Coasters: Amazon | Lip Balm: The Natural Fix via Etsy | Cookies: Linda Presents via Etsy
Many thanks to Cricut for partnering with Tidewater and Tulle for this DIY tutorial feature! And while the disclaimer is that we were compensated to write and design this, the words and our love for the Cricut brand are all our own. Some of the above product links are affiliate-linked and purchasing through these links helps support our wonderful sponsors and Tidewater and Tulle! You can find our full affiliate disclosure policy here on Tidewater and Tulle.


More Stories
Destination Weddings: Your Ultimate Guide to Saying I Do Away
Elopement Videography: Locations, Costs, and Why Couples Elope
TaylorMade Spider GT Rollback, Notchback and Splitback putters