Table of Contents
![]()
If you’re new to photo printing, different print sizes may be a bit confusing to you. One that you’ll regularly come across and should know about, however, is 4×6 – which is the most commonly used throughout the industry.
While it’s easy for beginners to think that any picture will look good when printed in a 4×6 format, the reality is quite different. If you don’t get several aspects right, you could find yourself with suboptimal results.
This article will cover everything you need to know about the 4×6 size for photos. You’ll learn about its origins, tips for getting the most out of your prints, and more.
The Origins of the 4×6 Print Size
The 4×6 photo size can trace its origins back to the 20th century when the first 35mm cameras burst onto the photography scene and 35mm film (also known as 135 film) introduced by Kodak in 1934 became an industry standard. Each 24×36mm frame on a 35mm film roll has an aspect ratio of 1:1.5 (or 3:2), so it was natural for the photofinishing industry to choose a similar aspect ratio for standard print sizes.
In earlier years of 35mm photography, 3.5×5 prints were the norm for printing 35mm photos, and this size was referred to as 3R in the industry (with “R” standing for “rectangle”) and used by Kodak for its printing business. By the late 1980s and early 1990s, the 4×6 print took over as the most common print size.
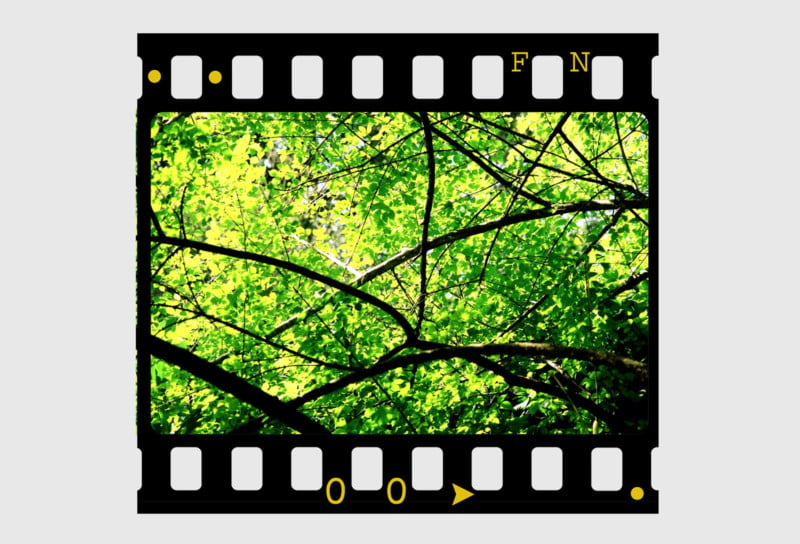
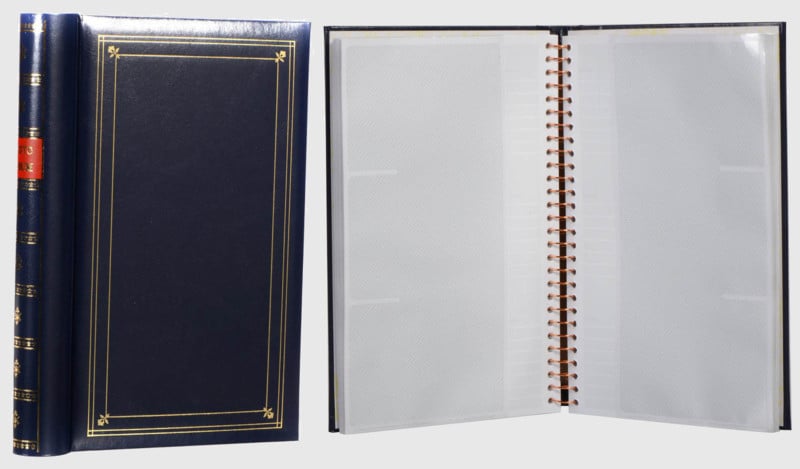
These dimensions have continued to be the go-to for the photofinishing industry; 4×6 is now a standard for everything from postcards to photo albums and more.
The 4×6 photo size had (and still has) several other advantages; cost-effective production is perhaps the largest.
How Big a 4×6 Photo in Different Units of Length?
Before we continue, it’s worth noting that 4×6 photo print sometimes isn’t strictly four inches by six inches. Instead, it often measures approximately 4″ x 5 ⅞”. The photography printing industry adopted these standard dimensions based on the aspect ratio of the viewfinder in most early digital cameras.
Ignoring the slight discrepancy you may find, though, here is how to covert the 4×6 from the Imperial system (on which its name is based) to the metric system: In centimeters, the 4×6 size for an image roughly translates to 10x15cm. As for precise millimeter dimensions, 4×6 photos are 101.6×152.4mm.
What is the Best Resolution for Printing 4×6 Photos?
If you want to achieve the best possible results when printing your photos, resolutions are arguably the most crucial area to consider. It would be best to consider where people will see your picture, though, because you can get away with a lower resolution in some scenarios.
As a general rule of thumb, 1200×1800 (or 1200×1788) is the minimum resolution that is recommended for 4×6 prints as it will provide 300dpi (dots per inch). A resolution of 1024×768, or photos produced by a 0.8-megapixel camera, will also provide good results.
If you have a low-resolution photo, however, an image size of around 480×640 will be passable at 115dpi, but you’re pushing a fine line if you go lower than that in most cases.
If others will view your picture from further away, you can get away with using resolution at the lower end of the scale. However, you’ll want to use a higher resolution for pictures that people will hold in their hand and/or view from a close distance (which they typically will do with a print of this size).
Generally speaking, a higher resolution will improve the quality of your print up to a certain level while lower resolutions will impact your photo print negatively by producing blocky, pixelated results.
![]()
What Aspect Ratio is a 4×6 Photo?
As stated earlier, 4×6 photos have a 3:2 aspect ratio. In simple terms, this means that the shot you captured is three units wide for every two that it is across for landscape orientation photos or two wide for every three across for photos captured in portrait orientation.
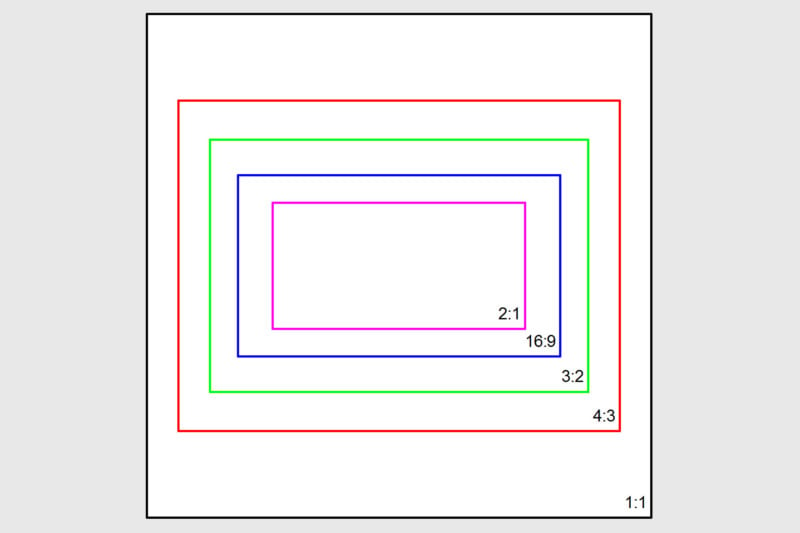
3:2 was the default aspect ratio for older 35mm cameras, and that remains the case for most DSLR and mirrorless cameras today. However, some manufacturers — such as Olympus — use 4:3 instead.
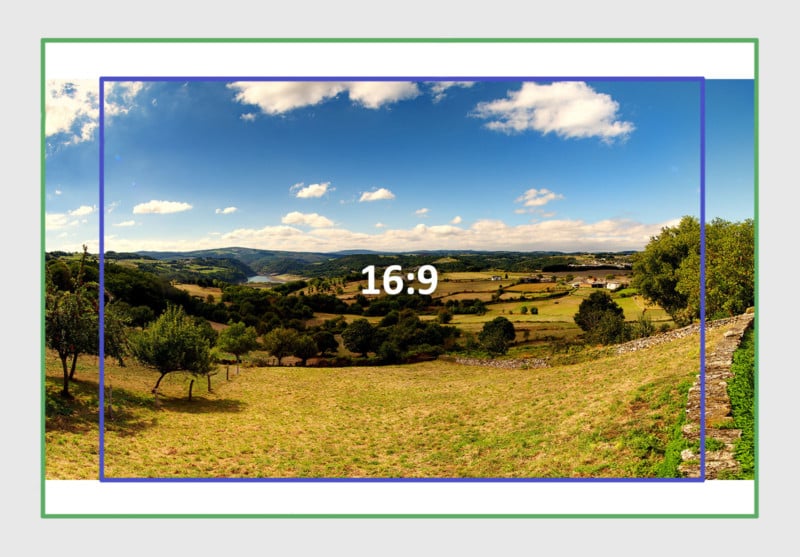
If your camera has a 4:3 aspect ratio, you’ll have to deal with a cropped image at both the top and bottom if you print a landscape photo and on the left and right edges if you print a portrait image.
Do Smartphones Use the Same Aspect Ratios as Most Cameras?
Many modern smartphones use the 4:3 aspect ratio by default, so you’ll again need to remember that crops will occur in your photo if you print it out as a 4×6.
There are sometimes options that can be toggled in your settings to shoot photos in other aspect ratios if you would like your images to naturally print well as 4×6 prints without being cropped. While smartphones like the iPhone do not offer the 3:2 aspect ratio (the only options are 1:1, 4:3, and 16:9), there are apps you can download for shooting in 3:2.
The simpler option is to stick with the default aspect ratio and crop the photo in post-production.
Tips for Shooting, Cropping, and Printing in 4×6
If you don’t use a 3:2 aspect ratio, you can still maintain a good quality image if you want to print 4×6. Below are five things you can do to achieve this.
1. Get the Photo Right in a Technical Sense
If you get the technical aspects of your photo right, everything else – from editing to resizing – is much easier. Try to limit blur where possible; if you need to use a slower shutter speed, put your camera on a tripod.
You should also shoot in RAW, as doing so will allow you to keep more detail in your picture.
2. What Does the Photo Look Like on Your Computer Screen?
When you’ve finished editing your photo, you’ll need to take a finer look and ensure that everything looks ready to print. Checking the picture’s quality at 100% is a wise idea.
If your photo looks good at 100% on your computer screen, you shouldn’t have any nasty surprises when you receive the printed version. Sometimes looking at a photo when zoomed out on a computer screen can be deceiving due to blur and other imperfections being harder to see in smaller sizes.
3. Keep Important Photo Aspects Closer to the Center
As we mentioned earlier, image cropping is inevitable with some cameras. If you include crucial picture components close to the edges, you’re playing a risky game and might not get the most ideal 4×6 printing result.
Keep the most important parts of your photo closer to the center where possible. You can stand away to achieve this, and using a wider-angle lens will also do the job.
4. Use Photo Editing Software for Cropping
When preparing your picture for a 4×6 print, you should use photo editing software to crop the image. The tool you use doesn’t matter too much; software such as Adobe Lightroom, Photoshop, and Capture One all have the necessary features you need to get your photo ready. Even mobile apps contain cropping features.
Crop tools also often have an aspect ratio locking feature built right in, allowing you to resize the crop box while it maintains a 3:2 ratio.
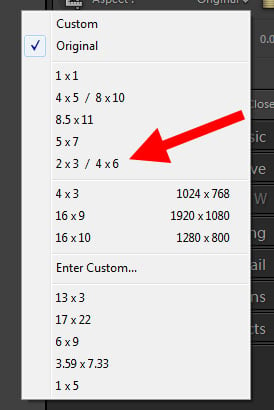
Cropping a photo yourself can help you ensure that your resulting composition is exactly as you want it to be.
You’ll also need to consider pixels per inch; a resolution of at least 300ppi to 500ppi will cover you in the majority of situations.
5. Consider Paper Quality
While you can follow some general guidelines for printing 4×6 photos, things will differ depending on the paper you choose. If you use better-quality printing paper, you’re better off using a higher resolution.
If you use lower-quality paper, you might not notice too much difference if your resolution isn’t as high as recommended.
You Are Now Ready to Print a 4×6 Photo
This guide was created to serve as a starting point for printing 4×6 images. If you’re new to photo printing, printing out photos as 4×6 prints can be an easy and affordable learning experience before moving on to other sizes and mediums. 4×6 prints are simple to understand, and you can transfer everything you learn to other sizes later.
You have a lot of control when it comes to printing 4×6 images. Your camera will often take photos with the correct aspect ratio, and getting things technically correct will reduce your workload significantly.
Now that you’ve read this guide, all that’s left for you to do is start getting your creations transferred to 4×6 pieces of photo paper.
Image credits: Stock photo from Depositphotos


More Stories
Celebrate Your Love in Style: Find the Perfect USA Wedding Photographer for Stunning Forever Memories
Unveiling the Magic: Wedding Photography Secrets
How Budget Wedding Photographers Deliver Quality